まえがき
どこの環境でもだいたいはいっているWinSCPですが、これをコマンドラインベースで自動操作できることを知っている人は、そんなに多くありません。
今回はWinSCPの自動化について話をしようと思います。
主な話題としては以下の通りです。
・CUIでのWinSCPの実行
・スクリプトファイルを利用したWinSCPの実行
・PowerShellからのWinSCPの実行
コマンドラインでの実行方法
CUIでのWinSCPの実行
WinSCPをインストールしたディレクトリの「WinSCP.com」を実行するか「WinSCP.exe」に-consoleオプションを付与して実行します。
"C:\Program Files (x86)\WinSCP\winscp.com"
or
"C:\Program Files (x86)\WinSCP\winscp.exe" /console
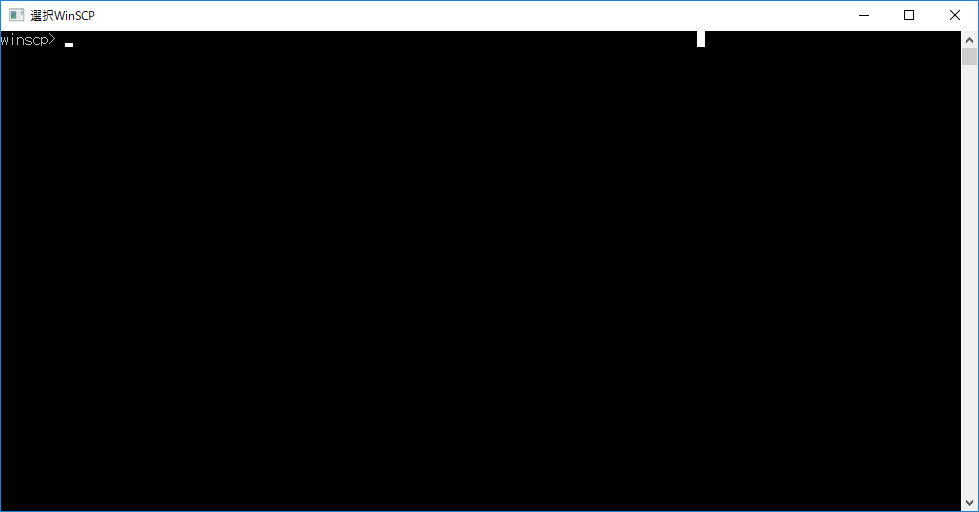
以下のようなコンソールが起動して対話ベースでWinSCPの操作が行えます。

使用できるコマンドは下記の通りです。help \<command>でその詳細を確認できます。
5.15.3で使用できるコマンドは下記の通りです。
| コマンド | 説明 |
|---|---|
| call | 任意のリモート コマンドを実行 |
| cd | リモート ディレクトリの変更 |
| checksum | リモート ファイルのチェックサムを計算する |
| chmod | リモート ファイルの権限を変更 |
| close | セッションを閉じる |
| cp | リモート ファイルを複製 |
| echo | その引数をメッセージとして表示します |
| exit | すべてのセッションを閉じプログラムを終了する |
| get | リモートからローカルにファイルをダウンロード |
| help | ヘルプを表示 |
| keepuptodate | ローカル ディレクトリの変更をリモートに反映 |
| lcd | ローカル ディレクトリを変更 |
| lls | ローカル ディレクトリの内容を表示 |
| ln | リモートにシンボリックリンクを作成 |
| lpwd | ローカル ディレクトリの表示 |
| ls | リモート ディレクトリの内容を表示 |
| mkdir | リモート ディレクトリを作成 |
| mv | リモート ファイルを削除または名前変更 |
| open | サーバに接続 |
| option | スクリプトオプションの値を設定/表示 |
| put | ローカルからリモートにファイルをアップロード |
| pwd | リモート ディレクトリの表示 |
| rm | リモート ファイルを削除 |
| rmdir | リモート ディレクトリを削除 |
| session | 接続しているセッションの表示またはアクティブなセッションの選択 |
| stat | リモート ファイルの属性を表示 |
| synchronize | リモートとローカルのディレクトリを同期 |
対話中には制限付きで環境変数が使用できます。
- 文字列処理は使えません
- 動的環境変数は使用できません。ex %RANDOM%,%DATE%,%CD%など
- %WINSCP_PATH%というWinSCPの実行パスが入った環境変数が使用できます。
- %TIMESTAMP%が使用できます。書式の設定等も行えます
以下に簡単なアップロードとダウンロードのサンプルを示します。
# 指定のサーバーに接続を行う
winscp> open user:password@192.168.80.131

# タイムスタンプでディレクトリを作成
winscp> mkdir %TIMESTAMP%

# 作成されたディレクトリ名を任意の方法で確認

# 作成したディレクトリにファイルをアップロードする
winscp> put C:\dev\winscp\upload ./20190911173052
C:\dev\winscp\upload      |            0 B |    0.0 KB/s | binary |   0%
C:\dev\winscp\upload\test |            0 B |    0.0 KB/s | binary |   0%
C:\...\test\test.txt      |            4 B |    0.0 KB/s | binary | 100%
C:\...\upload\test.txt    |            4 B |    0.2 KB/s | binary | 100%
C:\...\upload\アップロード.txt  |            4 B |    0.5 KB/s | binary | 100%

# ls コマンドでアップロードした内容を確認
winscp> ls ./20190911173052
drwxrwxr-x   3 xxxxxxxx xxxxxxxx        64 Sep 11 17:32:29 2019 .
drwx------  33 xxxxxxxx xxxxxxxx      4096 Sep 11 17:30:51 2019 ..
drwxrwxr-x   2 xxxxxxxx xxxxxxxx        22 Sep 11 17:32:29 2019 test
-rw-rw-r--   1 xxxxxxxx xxxxxxxx         4 Sep 11 17:28:17 2019 test.txt
-rw-rw-r--   1 xxxxxxxx xxxxxxxx         4 Sep 11 17:28:09 2019 アップロード.txt

# getコマンドでダウンロードする
winscp> get ./test2 C:\dev\winscp\download
test2                     |            0 B |    0.0 KB/s | binary |   0%
test.txt                  |            6 B |    0.0 KB/s | binary | 100%
test                      |            0 B |    0.0 KB/s | binary |   0%
aaa.txt                   |            6 B |    0.4 KB/s | binary | 100%

# セッションを全て閉じる
winscp> exit
スクリプトファイルを利用したWinSCPの実行
まずスクリプトファイルをBOM付きのUTF8かUTF16で作成します。
script.txt
# 接続
open %1%:%2%@192.168.80.131
mkdir ./%3%

# アップロード
put C:\dev\winscp\upload ./%3%
exit
スクリプトに記載した%1%や%2%は実行時のパラメータで決定されます。
このスクリプトを実行する例は以下の通りです。
C:\dev\sakura>"C:\Program Files (x86)\WinSCP\winscp.com" /script=C:\dev\winscp\script.txt /parameter ユーザ名 パスワード フォルダ名 /log=C:\dev\winscp\log.txt
サーバを探索中・・・
サーバに接続しています・・・
認証しています・・・
ユーザ名"ユーザ名" を使用中
入力済みパスワードで認証中
認証されました
セッションを開始しています・・・
セッションを開始しました
アクティブ セッション: [1] ユーザ名@192.168.80.131
C:\dev\winscp\upload      |            0 B |    0.0 KB/s | binary |   0%
C:\dev\winscp\upload\test |            0 B |    0.0 KB/s | binary |   0%
C:\...\test\test.txt      |            4 B |    0.0 KB/s | binary | 100%
C:\...\upload\test.txt    |            4 B |    0.0 KB/s | binary | 100%
C:\...\upload\アップロード.txt  |            4 B |    0.5 KB/s | binary | 100%

C:\dev\sakura>
PowerShellからのWinSCPの実行
WinSCPnet.dllが.NETのライブラリとなっておりPowerShellから実行可能です。AnyCPUでビルドしているようなのでPowerShellはx64/x86どちらで動作させても動きます。
ダウンロードとアップロードの例
try
{
    # Load WinSCP .NET assembly
    Add-Type -Path 'C:\Program Files (x86)\WinSCP\WinSCPnet.dll'

    # Setup session options
    $sessionOptions = New-Object WinSCP.SessionOptions -Property @{
        Protocol = [WinSCP.Protocol]::Sftp
        HostName = "192.168.80.131"
        UserName = "xxxxxxxx"
        Password = "xxxxxxxx"
        GiveUpSecurityAndAcceptAnySshHostKey = $True
    }

    $session = New-Object WinSCP.Session

    try
    {
        # Connect
        $session.Open($sessionOptions)

        # Force binary mode transfer
        $transferOptions = New-Object WinSCP.TransferOptions
        $transferOptions.TransferMode = [WinSCP.TransferMode]::Binary

        # Download file to the local directory d:\
        # Note use of absolute path
        $transferResult =
            $session.GetFiles("/home/xxxxxxxx/test2", "C:\dev\winscp\download", $False, $transferOptions)

        # Throw on any error to emulate the default "option batch abort"
        $transferResult.Check()

        # Directoryの作成
        $session.CreateDirectory("/home/xxxxxxxx/test2/powershell")
        $transferResult =
            $session.PutFiles("C:\dev\winscp\upload", "/home/xxxxxxxx/test2/powershell", $False, $transferOptions)
        $transferResult.Check()
    }
    finally
    {
        # Disconnect, clean up
        $session.Dispose()
    }

    exit 0
}
catch
{
    Write-Host "Error: $($_.Exception.Message)"
    exit 1
}
クラスの使用方法は下記を参照してください。
https://winscp.net/eng/docs/library
まとめ
コマンドラインベースでWinSCPを自動化する方法を紹介しました。
GUIを一生懸命たたいて目視で確認とかいう、苦行を繰り返すくらいならスクリプトを書いた方が楽でミスもないと思います。
なお、単純実行ならともかく、分岐等が必要ならPowerShellでやった方が楽でしょう。
参考
https://winscp.net/eng/docs/scripting
https://winscp.net/eng/docs/library_from_script
[…] WinSCP コマンドラインからファイルのアップロード、ダウンロードが自動で可能です。また、提供されているdllを使用することでPowerShellを含めた.NETFrameworkでのプログラミングが可能です https://needtec.sakura.ne.jp/wod07672/?p=9178 […]