本ドキュメントではGitPrepを使用してプライベートなGitHubのようなサイトを構築する方法について記述する。
環境
Debian7
Perl v5.14.2
インストール方法
1.下記のサイトからZIPをダウンロード
https://github.com/yuki-kimoto/gitprep
2.Debianでフォルダを展開して、下記のシェルスクリプトを実行
./setup.shこのときのログを次のコマンドで確認できる。
vi setup/build.log今回は下記の項目がエラーとなった。
FAIL Failed to fetch distribution Validator-Custom-0.22
FAIL Failed to fetch distribution Params-Check-0.36
FAIL Failed to fetch distribution Module-Load-Conditional-0.54
FAIL Failed to download http://backpan.perl.org/authors/id/D/DA/DAGOLDEN/Perl-OSType-1.003.tar.gz
FAIL Failed to fetch distribution IPC-Cmd-0.80
インストールに失敗したモジュールを自前でインストールする。
 perl cpanm Validator::Custom
 perl cpanm Params::Check
 perl cpanm Module::Load::Conditional
 perl cpanm Perl::OSType
 perl cpanm IPC::Cmd
3.gitprepを起動する
./gitprep以降、以下のようなURLでアクセスが可能になる。
http://debian:10020/
なお、WebServerをとめるには下記のコマンドを実行する。
./gitprep --stopgitprepの使い方
管理ユーザの登録
1.初回に下記のアドレスにアクセスすると管理用のユーザのパスワードの登録を求められる。
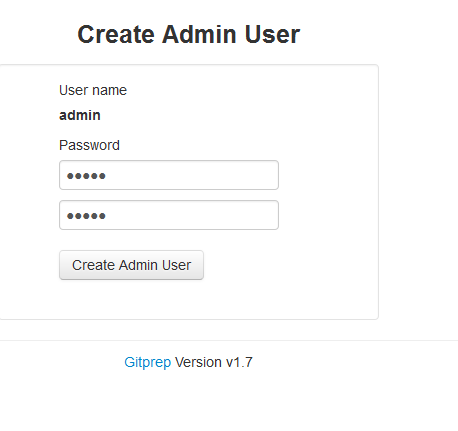
2.管理ユーザの登録に成功すると次のようなメッセージが表示される。

通常ユーザの登録
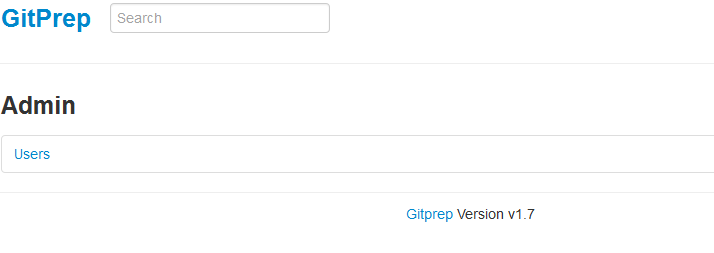
1.画面右上の「Sign in」を入力して今登録した管理ユーザでログインする。
管理ユーザではユーザの作成は行えるが、リポジトリの作成は行えない。
2.Usersを押すとユーザを登録する画面に遷移できる。

3.ユーザ登録画面で下記のように「alice」と「Joe」を追加したものとする。
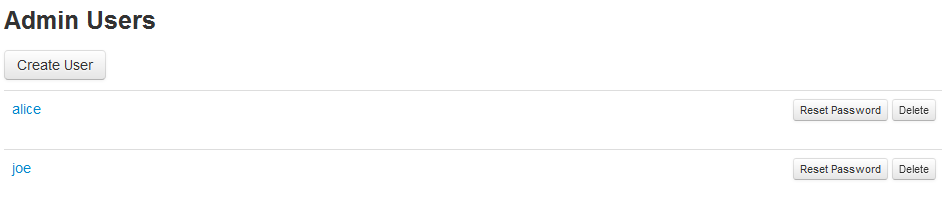
以降、alice,Joeでログインが可能になる。
リポジトリの追加
1.aliceでログインをする。
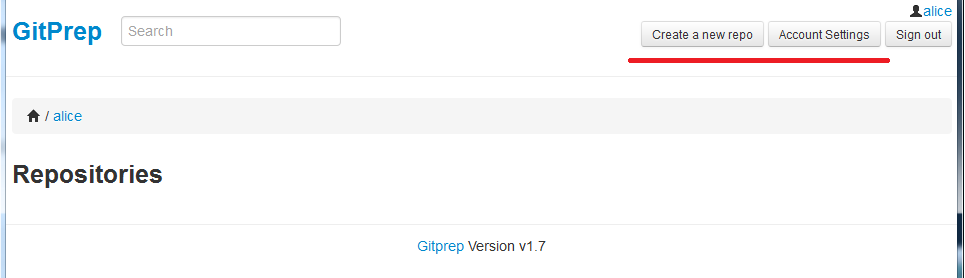
管理ユーザとことなり、「Create Repogitory」のメニューが追加されていることがわかる。
2.必要な情報を入力して「testproject」を登録する。

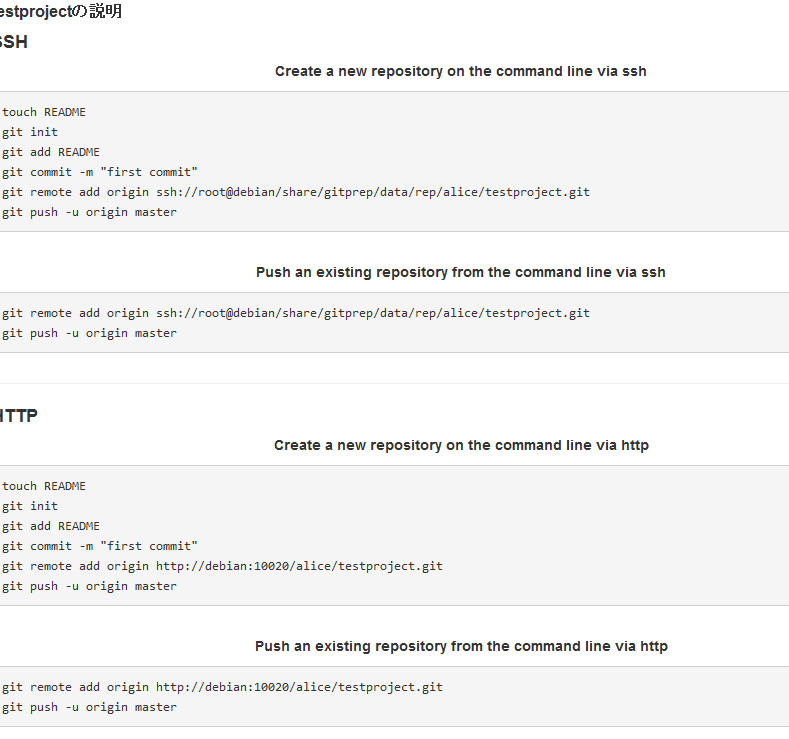
3.作成に成功すると、リポジトリ―の操作例が表示される。
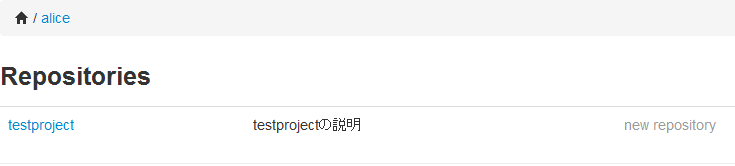
また、aliceのホームページには今追加した
testprojectが表示される。
4.クライアントで作成したtestprojectを操作してみる。
# リポジトリを作成する
$ mkdir testproject
$ cd testproject
$ git init

# READMEの追加
$ vim README
// なんらかのファイルを作成

$ git add README
warning: CRLF will be replaced by LF in README.
The file will have its original line endings in your working directory.

# ファイルをコミット
$ git commit -m "first commit"
[master (root-commit) 4802d3e] first commit
warning: CRLF will be replaced by LF in README.
The file will have its original line endings in your working directory.
 1 file changed, 2 insertions(+)
 create mode 100644 README

# リモートサーバーの登録
$ git remote add origin http://debian:10020/alice/testproject.git
XXX@XXXX-PC ~/git/testproject (master)

# リモートサーバーにpush
$ git push -u origin master
Username for 'http://debian:10020': alice
Password for 'http://alice@debian:10020': <<< aliceのパスワード
Counting objects: 3, done.
Writing objects: 100% (3/3), 216 bytes | 0 bytes/s, done.
Total 3 (delta 0), reused 0 (delta 0)
To http://debian:10020/alice/testproject.git
 * [new branch]      master -> master
Branch master set up to track remote branch master from origin.
リポジトリに作業者を追加する。
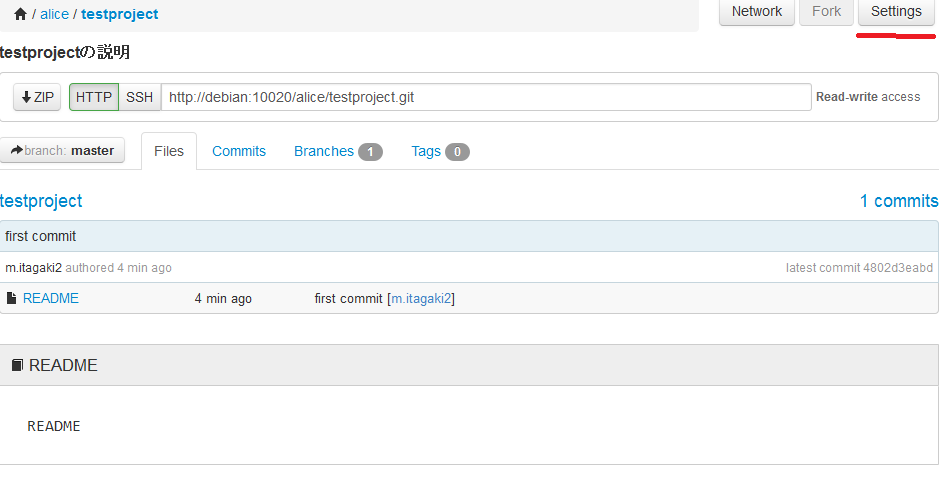
1.aliceでtestprojectを開いて、「Settings」ボタンを押す
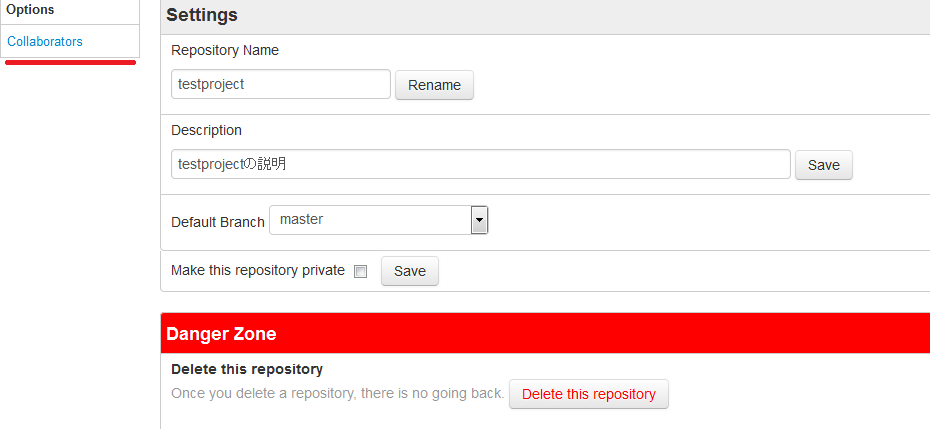
2.Collaboratorsを押下する。
3.「joe」を入力して追加する。

4.以降「joe」がtestprojectへの操作を行える。
$ git clone http://debian:10020/alice/testproject.git
$ cd testproject
$ vim README
$ git add README
$ git commit -m "Joe Commit"
$ git push -u origin master
Username for 'http://debian:10020': joe
Password for 'http://joe@debian:10020': << joeのパスワード
その他留意点
・gitprep/gitprep.confでタイムゾーンやgitのパスなどの各種項目を変更できる。
・adminのパスワードを忘れたり、変更したくなったら、gitprep/gitprep.confのreset_password=1を設定するといい。
・apache経由でもできるらしいが、以下のエラーが出たので諦めた
https://github.com/yuki-kimoto/gitprep/issues/52