前書き
Electronを使用することでnode.jsを使用してマルチプラットフォームの画面を作成できます。
今回は、このElectronで作成された画面の自動操作について考えてみましょう。
テスト用の画面を作成
以下のようなファイルを作成します。

package.json
{
  "name": "test-app",
  "version": "0.9.0",
  "description": "test-app",
  "main": "app.js",
  "author": "Name",
  "scripts": {
    "start": "electron ."
  },
  "devDependencies": {
    "electron": "^6.0.12"
  }
}
app.js
const electron = require('electron');
const app = electron.app;
const BrowserWindow = electron.BrowserWindow;

let mainWindow = null;
app.on('ready', () => {
    //メインウィンドウの定義:サイズ以外にもいろいろ設定可能
    mainWindow = new BrowserWindow(
    {
        width: 600,
        height: 400,
        'min-width': 300,
        'min-height': 200,
    }
    );
    //現在実行中のファイルディレクトリパスの下のindex.htmlを読みに行く。
    mainWindow.loadURL('file://' + __dirname + '/index.html');
    //メインウィンドウ終了時の処理
    mainWindow.on('closed', function() {
        mainWindow = null;
    });
});
index.html
<!DOCTYPE html>
<html>

<head>
<meta Http-Equiv="content-type" Content="text/html;charset=UTF-8">
<title>Electronテストアプリ</title>
</head>

<body>
Hello Electron
<input id="txt" type="TEXT"></input>
<button id="btn" >ボタン</button>
<script type="text/javascript" src="index.js"></script>
</body>
</html>
index.js
const btnCtrl = document.getElementById('btn');
btnCtrl.onclick = function(element) {
  alert(document.getElementById('txt').value + "を出力");
};
これらのファイルをパッケージ化します。以下のページを参考にしてください。
Electron:アプリの実行とexe作成
https://web-dev.hatenablog.com/entry/web/js/electron/run-app-and-create-exe
作成されたExeは以下のようになります。
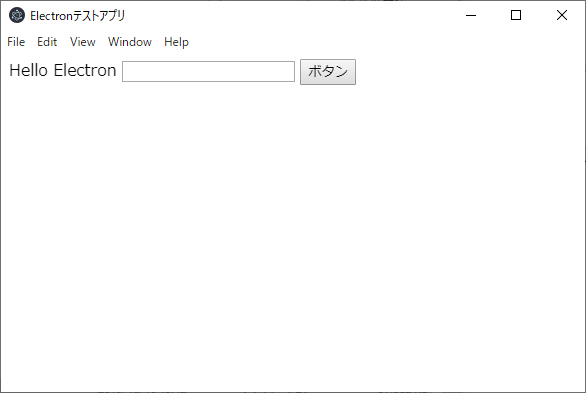
ボタンを押すとテキストで入力した文字をポップアップ表示します。

Seleniumでの自動操作方法
結局はChromeと同じなのでSeleniumが使用できます。
ただし使用するWebDriverはElectronのものを使用します。
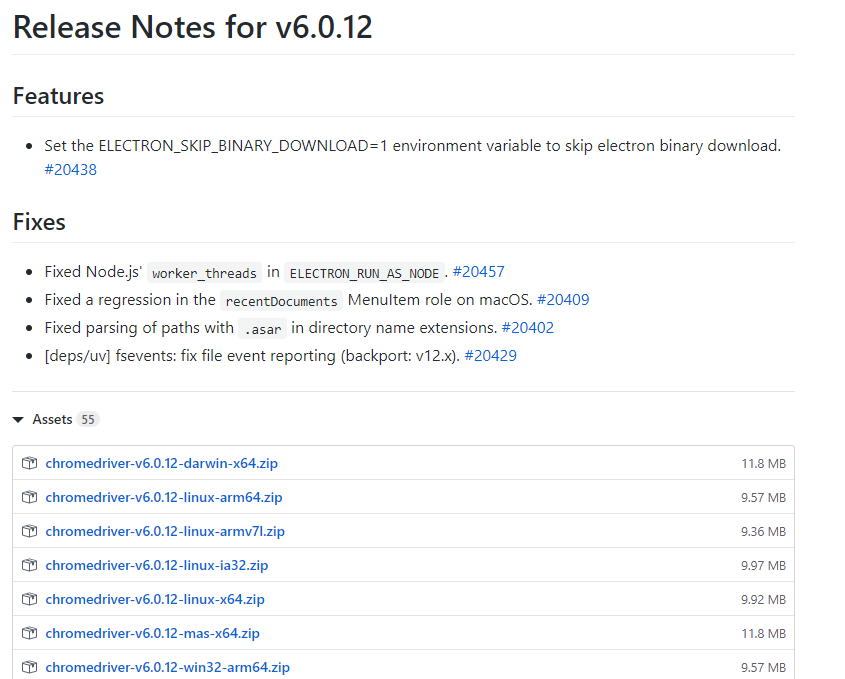
使用したElectronのバージョンにあったWebDriverを入手してください。
https://github.com/electron/electron/releases
Pythonの例
基本的にChromeの自動操作で行ったSeleniumと同じ実装です。
ただし、ChromeOptionsのbinary_locationにelectronのアプリケーションへのパスを指定してください。
from selenium import webdriver
from selenium.webdriver.support.ui import Select
options = webdriver.ChromeOptions()
options.binary_location = 'C:\\dev\\node\\electronsample\\test-app-win32-x64\\test-app.exe'
print(options.binary_location)
# 使用しているElectronのVersionにあうWebDriverを入手すること!!!
# https://github.com/electron/electron/releases?after=v7.0.0-beta.6
driver = webdriver.Chrome("C:\\tool\\selenium\\chromedriver-v6.0.12-win32-x64\\chromedriver.exe", options=options)
#
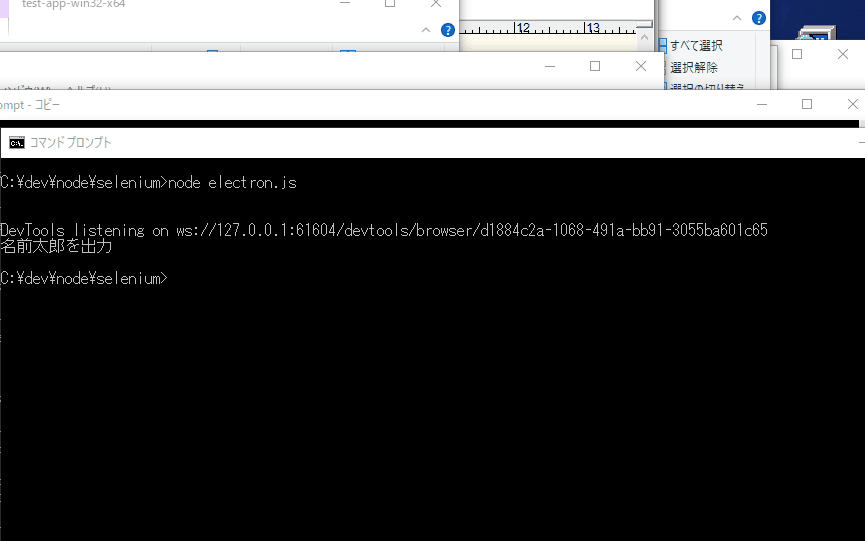
driver.find_element_by_id("txt").send_keys("名前太郎")
driver.find_element_by_id("btn").click()
print(driver.switch_to.alert.text)
driver.switch_to.alert.accept()
driver.close()Node.jsの例
ChromeOptionsのsetChromeBinaryPathを使用してelectronのアプリケーションへのパスを指定してください。
// https://seleniumhq.github.io/selenium/docs/api/javascript/index.html
const webdriver = require('selenium-webdriver');
const chrome = require('selenium-webdriver/chrome');
const path = 'C:\\tool\\selenium\\chromedriver-v6.0.12-win32-x64\\chromedriver.exe';
const options = new chrome.Options();
// https://seleniumhq.github.io/selenium/docs/api/javascript/module/selenium-webdriver/chrome_exports_Options.html
options.setChromeBinaryPath('C:\\dev\\node\\electronsample\\test-app-win32-x64\\test-app.exe');
const service = new chrome.ServiceBuilder(path).build();
chrome.setDefaultService(service);
(async () => {
  const driver = await new webdriver.Builder()
                            .withCapabilities(webdriver.Capabilities.chrome())
                            .setChromeOptions(options)
                            .build();
  await driver.findElement(webdriver.By.id("txt")).sendKeys("名前太郎");
  await driver.findElement(webdriver.By.id("btn")).click();
  let alert = await driver.switchTo().alert();
  console.log(await alert.getText());
  await alert.accept();

  driver.quit();
})();
結果
UiPathでの操作の場合
Chromeを操作する場合はブラウザの拡張機能と連携して操作していましたが、Electronの場合、そのブラウザの拡張機能機能は使用できません。
あくまでWindowsの画面として操作するので、簡単なテキスト入力やボタンクリックは問題ないですが、JavaScriptの実行等は不可能であると考えられます。
※すくなくとも試してみてテキスト入力やボタンクリックはできたが、JSスクリプト挿入は失敗した。
まとめ
Electronで作成した画面はSeleniumを利用することで、ブラウザの自動操作と同じように自動操作が行えます。
ただし、WebDriverはElectron用のものを使用してください。